Death Guard Deathshroud Bodyguards – Part 1
As with all the Death Guard miniatures that have come out this year, I snaffled up the Deathshroud Bodyguards as soon as they landed. When they arrived I was both made up with them, and perplexed, as I thought they’d have more poses and options, but it doesn’t actually matter, because the models you can build are stunning.
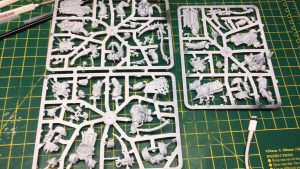
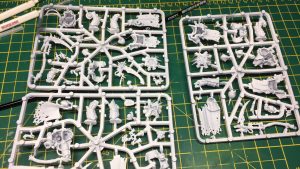
I started off by spraying all the sprues with Halfords’ White Primer spray. It’s a big can and pretty cheap, and works as well as any other white spray I’ve used.
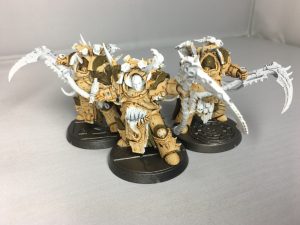
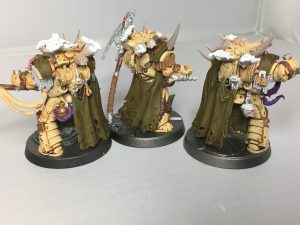
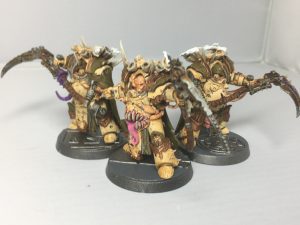
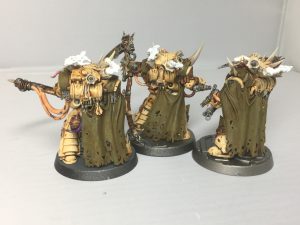
Once undercoated, I started to paint up the individual sections. I washed the armour with Citadel Seraphim Sepia shade, then painted the cloaks and loin cloths, etc with Vallejo Russian Uniform WWII. Once it had dried, I washed the material with Citadel Agrax Earthshade. The reason behind this was, that once built, some of these sections would be slightly obscured and difficult to reach.
Next up I glued them all together. Glue wise, I’ve been using Tamiya Extra Thin Cement. I was recommended it by the guy who runs the Wargames Store in Brimstage, and I’ve got to say, it’s magnificent. I’ll try and get a short video done to show how good it is, but I’ve been through three bottles of the stuff and not found anything I like better so far – needs the windows open though, as it stinks. the bases they are on are three of the Sector Imperialis bases from Games Workshop, and they’ve been sprayed with Citadel Leadbelcher.
To prepare the models for applying shades, I started off with the following colours:
Vallejo Model Air Rust: Shaft of the scythe, armour decorations
Vallejo Model Air Steel: All the metallics, spikes
Citadel Mephiston Red: Mouths, wounds, open sections of heads/necks,
I took this further by painting up the rest of the base colours:
Citadel Emperor’s Children: Tongues
Citadel Xereus Purple: Tentacles, and ruptures in armour
Citadel Rakarth Flesh: All bone, bony protrusions, the disembodied heads
Vallejo Flat Flesh: Fleshy tubing and skin
Vallejo Beige Brown: the leather tassels on the shoulder pads, strapping on the scythe’s handle
There are further parts to paint up, such as the smoke from the vents at the top, but I’ll be doing them toward the end.
Next I applied the shades.
Citadel Druchii Violet: Over all ruptures and tentacles and mouths
Citadel Seraphim Sepia: Touched up armour, washed teeth, some sections of the Vallejo Steel, bony protrusions, exhausts and horns
Citadel Reikland Fleshshade: All flesh areas
Citadel Nuln Oil: All Vallejo Steel
Citadel Agrax Earthshade: All Vallejo Rust
Once done, I left them to dry for a while and called time on them for this post. The bulk of the work is out of the way, but as I’m painting up three at once it is taking a lot longer than usual. I’m very happy with them so far, and they’re starting to show a lot of the detail and horror in the miniatures.
Part two of this tutorial can be found here.
Thanks for reading, and if you have any thoughts please comment below. While you’re here, why not follow us on our other social media so you don’t miss out on any future content:








2 thoughts on “Death Guard Deathshroud Bodyguards – Part 1”